
Write us to: sales@volgsol.com

As we learned in our previous blogs about Zendesk, basic channels like Chat, Talk, and Email which are used to create tickets in the Zendesk agent workspace. Now we will see the purpose and working of the two most famous social channels:
Integrating Facebook with Zendesk:
Integrating Facebook with Zendesk is such a great achievement by Zendesk. Because Facebook is the most locally used social channel and an easy way for customers to submit requests or tickets, all the Facebook posts, timelines, comments, and public messages by the customers become tickets. Let us see how to integrate it.
How to integrate Facebook with Zendesk?
Navigate to the following path for this setup:
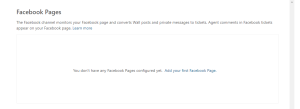
Admin Center > Channels > Messaging and social > Facebook Pages.
1. Click on the link Add your first Facebook Page.
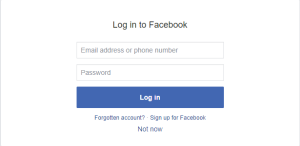
2. This link will take you to the Facebook login page.
3. Provide the login credentials, like the email address or phone number and password. Click on the button Login.
4. Provide the credentials correctly; otherwise, your Facebook page will not be connected with Zendesk.
5. Select the page you want to connect to and click on the Add button.
6. If your Zendesk plan supports more than one Facebook page, you can connect multiple Facebook pages; otherwise, close the window.
Here your Facebook page is connected to your Zendesk account, and get ready to receive tickets or requests via your Facebook page. If the user who is posting is not already a user in your account, he will become a new user on your account. Zendesk agent’s public comment in the agent workspace will be counted as a comment on the post.
Integrating Twitter with Zendesk:
Twitter integration with Zendesk is useful for getting tickets via Twitter. The public messages, like public mentions, public replies on Twitter, and likes to Tweets, become tickets, which are treated like other tickets by the Zendesk agents. Let us see the integration of Twitter integration with Zendesk.
How to integrate Twitter with Zendesk?
Navigate to the following way for this integration setup:
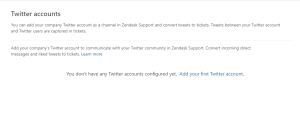
Admin Center > Channels > Messaging and social > Twitter accounts.
1. Click on the link, Add your first Twitter account, as shown in the picture.
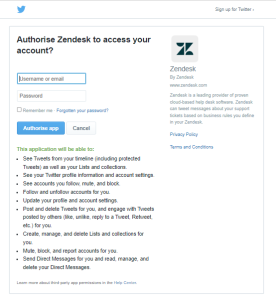
2. It will take you to the authorization page of Twitter, where you have to give Twitter credentials like Username or email and Password and click on the Authorized app button.
3. The Twitter account has been integrated with your Zendesk account, and any retweets, comments, and likes will be visible in your Zendesk support agent workspace.
4. If you want to edit the Twitter account settings for Zendesk, click on the Edit button on the added twitter account and make changes to whatever you want, and click on the Update Twitter account after editing.
That was the deep discussion about integrating two major social media channels with your Zendesk account. For further queries regarding Social Channels (Facebook & Twitter) in Zendesk, please leave a comment below.


