
Write us to: sales@volgsol.com


Dynamic content is the feature provided by the Zendesk maintenance authorities to manage language problems or issues. Dynamic content helps someone may, be a user or an end-user, to see the information on their interface according to their local language. It can be helpful for end-users to retain all the advantages of the company’s services that could be missed due to some language issues. It can also be profitable for staff members because nobody (customers) will leave their portal due to language issues, and everybody will interact with them. In short, we can say that dynamic content can provide us with language variants for the content.
For example, a company provides some request forms on their web portal in English, but everybody does not know English. Customers may be Spanish, French, or Arabic. To set the interface language according to their local language dynamic content helps them.
Let us see how to set dynamic content.
How to set up dynamic content?
Dynamic content creation can be divided into two parts:
- Creating dynamic content
- Creating Variants
Let us see them one by one.
Creating dynamic content:
1. First, select the languages for your system because dynamic content will only be applied for languages selected in your Zendesk system (Localization).
Navigate to the following path to select languages:
Admin Center > Account > Appearance > Localization.
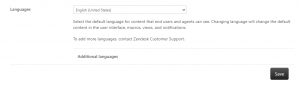
2. In the Languages portion, select more languages besides the default language by clicking on Additional languages and Save it.
3. Now navigate to the following path:
Admin Center > Workspaces > Agent tools > Dynamic content.
4. If you want to Edit the previously created contents, click on them and make changes to whatever you want.
5. For a new one, click on Add item button.
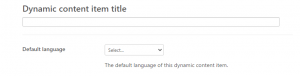
6. Enter the Title of dynamic content you are creating. Select the Default language from the drop-down.
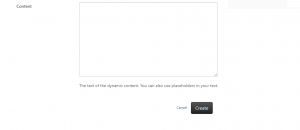
7. Enter the Content (content may be in plain text or Zendesk placeholders) on which you will apply dynamic content. Moreover, press the Create button to save it.
Here the dynamic content is created. Now, we have to create its variants.
Creating Variants:
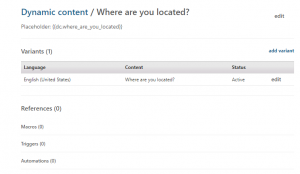
1. As you create dynamic content, you will be taken to such a page interface.
2. Click on Add variant button.
3. Select the Language from the drop-down. It will show the languages that were selected in Localization.
4. Keep the variant Active (for immediate action) or Inactive (for later).
5. Select the Default check box if you want to keep this variant the default variant.
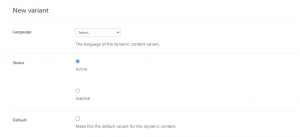
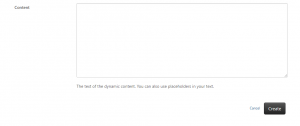
6. Enter the translated Content here. Moreover, click the Create button to save it.
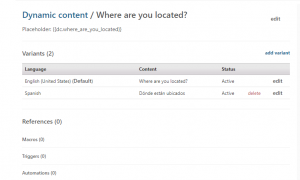
You can see that the variant is successfully created and ready for execution.
7. Copy the Placeholder from the page beginning with “dc” and paste it in place of original content like titles of field, form titles shown to customers or agents, Etc. It will help to get benefit from the dynamic content in the form of language flexibility for the users.
The Reference section will show where the placeholder is used in your system that you have provided in the Content section.
It was a complete discussion about the dynamic content. For further queries regarding Dynamic Content, please leave a comment below.


