
Write us to: sales@volgsol.com

Using the context panel in Zendesk Sell is to keep valuable information about your leads, contacts, and offers at your fingertips. Using context panel can be better for a company to keep records about Sell deal, leads and contacts. Let us see how to use the context panel in Zendesk Sell.
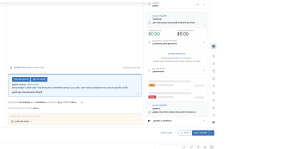
When selling, it’s helpful to have detailed, contextual information at hand. To help you view and manage this information, Zendesk Sell includes a context panel on the right side of all lead, contact, and handout cards. The icons that appear in the context panel differ depending on what features your administrator has enabled for your account.
Opening and closing the context panel:
You can open and close the context panel to help you with your Sell workflow.
1. Open a lead, contact, or deal tab.
2. Click any icon on the right side of the screen in the sidebar of the context panel, to open the context panel.
3. Click the same icon again, to close the context panel .
Switch between different views:
1. When you opened the context panel, click an icon, like Applications icon.
2. To switch to a different view, click on a different icon. For example, to view information about deal revenue, click the Deal icon.
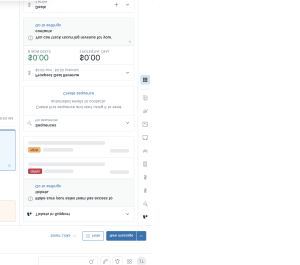
Changing the size of the context panel:
You can change the width of the context panel for a better view of the customer’s context or sidebar applications. The context panel is easy to set up.
1. Open the context panel, in a lead, contact, or deal tab.
2. Place the mouse pointer on the border line between the context panel and the agent’s activity or workspace.
3. The Resize icon will appear and the panel border line will become blue.
4. Drag the border line according to your need.
That was the complete discussion about the the context panel in Zendesk Sell.
For further queries regarding the Managing the Context Panel in Sell, please leave a comment below.


