
Write us to: sales@volgsol.com

The Linked Ticket app enables us to create a child ticket from an existing one and links them together. This app is useful when you have to see two separate conversations on the same issue. It is also useful for users when they want to start a conversation differently on the same issue. It will also display both parent and child tickets on a single interface.
How to install the Linked Ticket app?
You can install this app from the Zendesk Marketplace.
Navigate to the following path:
Admin Center > Apps and integrations > Apps > Zendesk Support apps.
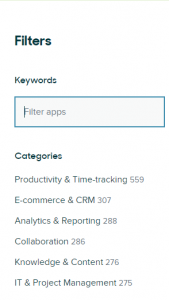
1. Click the Marketplace button at the top of the page and put the “Linked Ticket” app name in the Filter apps search bar.
![]()
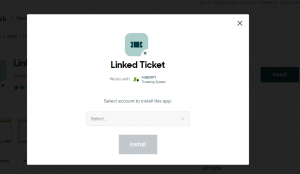
2. Click the Install button in the top-right of the page.
3. Select the Subdomain of the Zendesk account from the below drop-down where you want to install this app.
4. Give app setting requirements in fields as required.
5. Click the Install button to finalize the installation.
6. Here the app is installed in your given Zendesk subdomain. The next step is to make its features visible in the ticket form.
7. Navigate to the following path:
Admin Center > Objects and rules > Tickets > Forms.
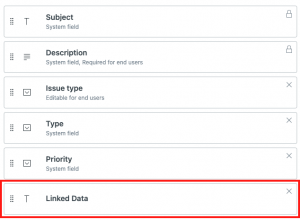
8. Add the automatically created Linked Data field to the ticket form where you want to add. And Save it.
How to create a child ticket from a parent ticket?
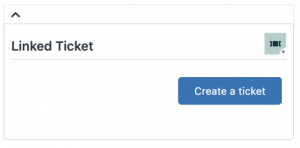
1. To create a child ticket from a parent ticket, open a ticket, click on the Apps icon in the sidebar, and click the Create a ticket button.
2. Fill in the ticket fields, and enable the checkbox Copy current ticket description if you want to use parent ticket’sdescription from the parent ticket.
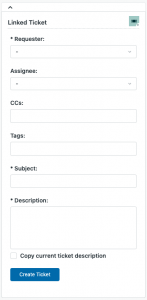
Here the child ticket is created, and the app will display a link between parent and child ticket if any of them is opened.
For further queries regarding the integration of the linked ticket app with Zendesk, please leave a comment below.


